
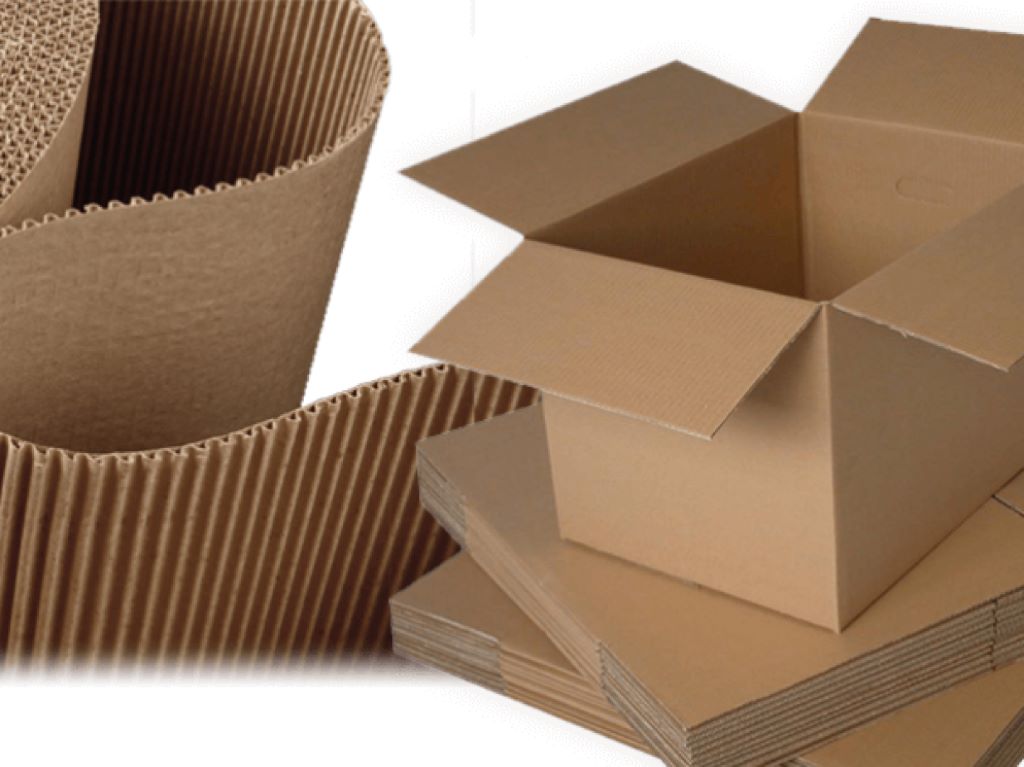
Cardboard is one of the most versatile materials out there. It’s inexpensive, easy to find, and can be used for a huge variety of DIY projects. However, cardboard does have one significant drawback – it lacks structural integrity. Plain cardboard is flimsy and can easily bend, warp, and get crushed. This makes cardboard unsuitable for projects that require sturdiness and strength.
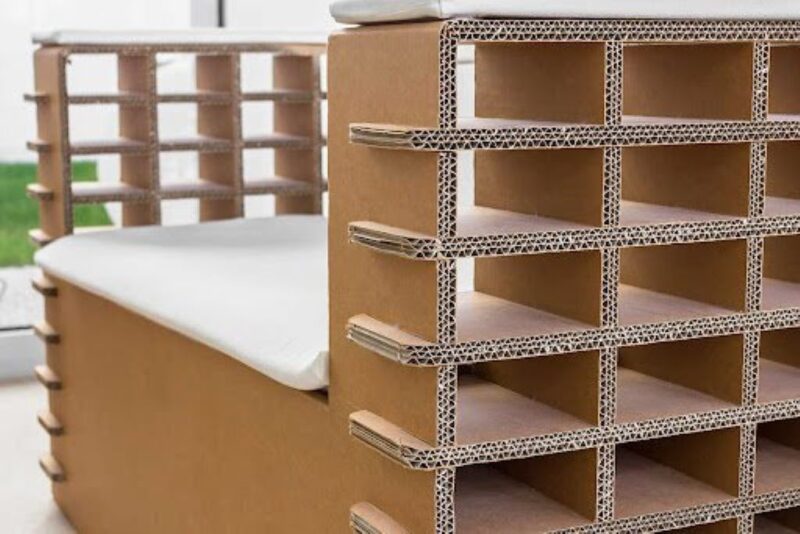
Luckily, there are many simple ways to stiffen and reinforce cardboard to make it much stronger and more durable. With a few easy techniques and affordable supplies, you can transform flimsy cardboard into a material that can withstand a surprising amount of force and weight. Stiffened cardboard can be used to create furniture, shelving, kids’ toys, architectural models, temporary flooring, and so much more!
In this comprehensive guide, we’ll outline 10 of the best methods for stiffening and reinforcing cardboard. With the help of these techniques, you can customize the strength and rigidity of cardboard for virtually any project or application. Let’s get started!
1. Apply Gesso
One of the simplest ways to stiffen cardboard is to coat it with gesso. Gesso is a thick, acrylic-based primer that is commonly used on canvas in preparation for painting. When applied to cardboard, gesso soaks into the corrugated layers and cardboard fibers, acting as a binder to strengthen the overall structure.
To stiffen cardboard with gesso:
- Cut and shape your cardboard as needed for your project. Seal any exposed corrugations with glue or tape.
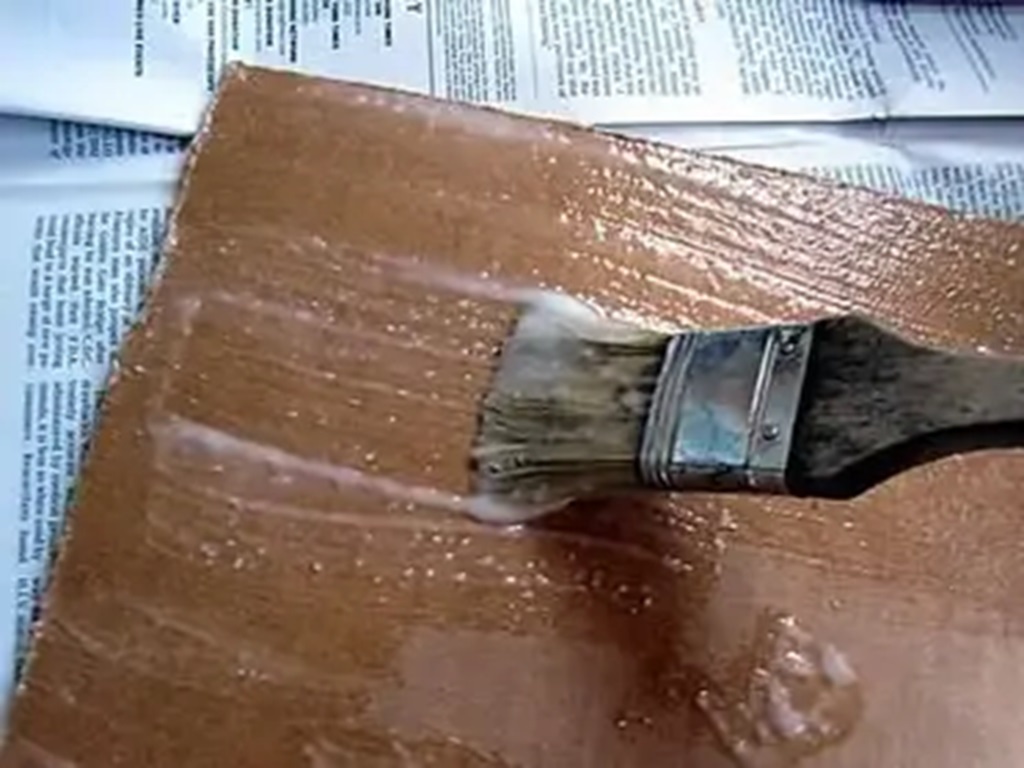
- Use a wide, flat paintbrush to liberally coat all surfaces of the cardboard with a layer of gesso. Allow to dry fully.
- For maximum strength, apply 2-3 coats of gesso, allowing it to dry completely between coats.
- Once dry, the gesso-coated cardboard will be significantly stiffer and more durable.
Gesso is affordable, widely available at art supply stores, and dries quickly. It adds only minimal thickness, so it’s ideal when you want to reinforce cardboard without significantly altering its form. Also, learn how to harden cardboard.
2. Use Wood Glue
Basic white or yellow wood glue can greatly stiffen cardboard when soaked thoroughly into the corrugated layers. For best results, use wood glue specifically formulated for porous materials, such as Elmer’s Wood Glue or Titebond III.
Here’s how to treat cardboard with wood glue:
- Prepare your cardboard pieces as needed, sealing any exposed corrugations.
- Liberally apply wood glue over all surfaces, massaging it into the corrugations. Let sit for 2-3 minutes.
- Use a brush or roller to evenly distribute and smooth out excess glue. Fully saturate all layers.
- Allow the cardboard to dry flat for 24 hours. The wood glue will dry rigid, significantly reinforcing the cardboard.
- For even more strength, apply a second layer of wood glue once first layer is dry. Let dry completely again.
Wood glue adds stiffness while still allowing cardboard joints to flex slightly. It’s inexpensive, dries transparent, and has very strong bonding power.
3. Coat with Epoxy Resin
Epoxy resin can transform cardboard into a material as hard and durable as plastic. When permeated deep into the cardboard, epoxy resin completely saturates and reinforces the fibers. This creates a stiff, rock-hard finish.
Follow these steps to stiffen cardboard with epoxy resin:
- Cut cardboard to required sizes and assemble pieces as needed. Seal cut edges thoroughly.
- Wearing gloves, mix a small batch of 2-part epoxy resin per manufacturer instructions.
- Pour resin directly over all surfaces of the cardboard. Use a brush to coat evenly and work resin into corrugations.
- Let cardboard sit until resin becomes tacky, then apply a second coat to soak and fill pores.
- Allow the epoxy-coated cardboard to fully cure for 24 hours. It will now have a glassy, high-gloss finish and be extremely rigid.
Epoxy resin provides the most heavy-duty reinforcement for cardboard. It’s ideal for structural pieces or heavy-use items. The smooth finish also allows painted or printed designs.
4. Use a Shellac Sealant
Shellac is a natural resin-based sealer that can be easily painted onto cardboard to fill corrugations and create a stiff, durable finish. Zinsser’s Bulls Eye Shellac is a readily available option specifically formulated for sealing porous materials.
To stiffen cardboard with shellac:
- Prepare cardboard pieces as required and assemble project structure.
- Using a foam brush, apply a generous coat of shellac liberally across all surfaces and edges.
- Let dry 2 hours. Shellac dries fast, so monitor closely to avoid drips.
- Flip over and repeat shellac application to uncoated side. Allow to fully dry again.
- For extra strength, add additional shellac coats until cardboard is saturated. Let dry thoroughly between coats.
Once fully cured, shellac-sealed cardboard will have a smooth, stiff finish perfect for decorative projects. Shellac brings out the richness of cardboard’s natural fibers.
5. Laminate with Packing Tape
Basic clear packing tape can add impressive strength and structure when used to fully laminate cardboard. The tape seals corrugations and creates a flexible, water-resistant shell. Laminating with tape is quick and simple.
To laminate cardboard with packing tape:
- Cut cardboard to the sizes and shapes needed for your project.
- Prepare strips of packing tape slightly longer than the width of the cardboard pieces.
- Align the tape strips edge-to-edge, overlapping slightly, across the full surface of the cardboard. Use a plastic smoother to minimize air bubbles.
- Trim off excess tape at the seams and outer edges for a clean finish.
- For thicker cardboard, apply tape to both front and back surfaces.
Laminated cardboard has a sleek, glossy look and feels stiffer, but still remains bendable and workable for many applications. The tape also helps projects withstand moisture and wear-and-tear.
6. Create a Paper Mâché Skin
Building up multiple layers of paper mâché over cardboard creates a super-stiff shell that can support heavy loads. Paper mâché soaks deep into the cardboard corrugations, adding substantial strength once dry. The finish can also be sanded, primed and painted for decorative effects.
Follow these steps to paper mâché cardboard:
- Plan cardboard structure and assemble pieces as required. Seal cut edges with glue or tape.
- Make paper mâché paste by mixing equal parts white glue and water. Tear newspaper into thin 1-2″ strips.
- Dip strips into paste, removing excess. Smooth onto cardboard surface using overlapping, multi-directional strips.
- Apply 3-5 full layers of paper mâché this way, allowing each to dry 4-6 hours before adding next layer.
- Once fully dry, lightly sand surface for a smooth finish. The cardboard will now be extremely rigid.
Paper mâché offers a fun way to create custom cardboard shapes while also reinforcing the structure. Multiple mâché layers prevent sagging and add exceptional strength.
7. Use Fiberglass Resin
For super-strong cardboard with incredible rigidity, apply fiberglass resin used for auto body repair. Fiberglass resin fully saturates the cardboard while adding structural fibrous material. When cured, cardboard treated with fiberglass resin gains a rock-hard, molded finish.
Here’s how to apply fiberglass resin:
- Cut and assemble the required cardboard pieces. Seal edges thoroughly.
- Wearing gloves and a respirator, mix a small batch of fiberglass resin per instructions.
- Saturate all cardboard surfaces using a disposable chip brush. Quickly apply fiberglass mat to wet resin.
- Use additional resin to fully saturate the mat layer. Smooth with a plastic spreader to avoid air pockets.
- Allow the resin to fully cure 24-48 hours. The cardboard will now have a stiff, durable fiberglass shell.
Fiberglass resin requires safety precautions but creates an industrial-grade finish. The method reinforces cardboard comparable to sheet metal. It’s ideal for costumes, theater props, and decorative finished pieces.
8. Iron on Fusible Interfacing
Fusible interfacing is a fabric adhesive that can be ironed onto cardboard to create a stiff, reinforced covering. Interfacing is commonly used to add body and structure to sewing projects. When fused onto cardboard, it locks surrounding fibers together to add rigidity.
Here’s how to apply fusible interfacing to cardboard:
- Cut interfacing and cardboard pieces to the same dimensions. Cut fabric slightly larger to account for shrinkage when fused.
- Place the interfacing adhesive-side down onto the cardboard’s surface and arrange smoothly.
- Using a dry iron on a medium heat setting, gently fuse the interfacing to the cardboard in sections. Avoid creases or bubbles.
- Trim off any excess overhanging interfacing for a clean edge. Allow to fully cool.
- The cardboard will now have a fabric skin layer that prevents warping or bending.
Interfacing comes in different thicknesses to suit the desired strength level. It can be found with other fabrics at your local craft or fabric store.
9. Create a Plaster Shell
For a ultra-strong and smooth finish, cardboard can be coated in a layer of plaster. As the plaster dries and hardens, it bonds to the cardboard corrugations to form a solid, plaster-reinforced shape. The plaster shell resists dents and adds considerable stiffness.
Follow these steps to cover cardboard in plaster:
- Cut and assemble the cardboard pieces as required. Fill gaps with clay and seal edges with tape.
- Mix up a batch of plaster, following package directions. Smooth a first coat over all surfaces using a trowel or drywall knife.
- Once partially set (about 20 minutes), apply a second plaster layer to create a thicker, seamless shell. Allow to fully cure overnight.
- Sand or carve plaster surface as needed once fully dry. The cardboard inside will now be highly rigid.
With some patience, plaster coating allows almost any cardboard creation, from furniture to lamp shades. It creates a durable, stone-like finish while adding impressive structural strength.
10. Incorporate Braces and Supports
For large or complex cardboard structures, simple braces and supports can add targeted reinforcement and rigidity. Small triangular gussets, dowels, squared edge beams, and angled braces can all stiffen specific stress points and prevent sagging.
Here are some tips for using supports:
- Analyze blueprints to locate joints or spans that require additional strength.
- Cut and glue reinforcing pieces from sturdy materials like wood, thick cardboard, or plastic.
- Position supports using the cardboard’s corrugations to maximize stability. Glue in place securely.
- Use diagonal cross-bracing between sections prone to misalignment or movement.
- Incorporate hidden braces and beams into the backing of hollow pieces to provide invisible strength.
With strategic reinforcement placement, supports prevent weakness while allowing large-scale cardboard construction. The interior supports won’t affect outer appearance.
FAQs
Q: Is there a simple homemade mixture I can use to stiffen cardboard?
A: Yes! You can make a quick cardboard stiffener by mixing 2 parts white glue with 1 part water in a bowl or jar. Apply this mixture liberally to all cardboard surfaces using a paintbrush and allow to fully dry overnight. The glue mixture will soak into the cardboard and rigidify it once dry.
Q: What’s the best way to strengthen corrugated cardboard corners and joints?
A: For added strength at cardboard connection points and corners, apply epoxy putty or wood filler. Knead the putty and work it deeply into the corrugations, then smooth flush along seams. Once fully cured, the putty will create a strong reinforced joint.
Q: How can I smooth and finish rough cardboard edges?
A: Any frayed or rough cardboard edges can be smoothed using common woodworker’s tools. Use a surform rasp or metal file to gently shave down fibers and create a flush edge. Follow with fine-grit sandpaper to polish edges for a clean finish. Avoid crushing the corrugations when smoothing edges.
Q: What’s the best way to make cardboard water-resistant?
A: The easiest option is to seal cardboard with a clear waterproofing spray, such as Krylon Crystal Clear Acrylic Coating. Apply several even coats according to can directions to create a protective barrier. Alternatively, use packing tape, contact paper, or a marine epoxy resin designed for moisture resistance.
Q: How do I prevent cardboard pieces from warping?
A: To minimize warping, always reinforce cardboard panels on both sides using the same technique. This allows moisture changes to occur evenly across the entire sheet. Store flat whenever possible and avoid drastic temperature swings. For extreme prevention, sandwich cardboard between two rigid panels or coat it in fiberglass resin.
In Summary
With a range of simple reinforcement techniques, flimsy cardboard can be transformed into a structural material suitable for furniture, shelving, crafts, and much more. Methods like wood glue, epoxy, braces, and mâché provide customized levels of rigidity based on your needs and project plans. Sturdy, stiff cardboard opens new possibilities for innovative DIY creations on a budget. People put rails on skateboards for several reasons, including protecting the board from wear and tear caused by sliding and grinding on rails, ledges, and other surfaces, as well as enhancing the board’s performance and longevity.