

Preserving a piece of skateboarding history like a Powell Peralta deck is a blend of art and craftsmanship. Whether you’re a collector looking to showcase a prized possession or a skating enthusiast cherishing the past, learning how to frame a classic Powell Peralta deck ensures it remains protected and admired for years. This guide walks you through every step, offering expert tips and proven techniques to make your skateboard display a masterpiece.
Why Framing a Powell Peralta Deck Matters
Framing a classic Powell Peralta deck isn’t just about aesthetics; it’s about preserving history. Powell Peralta decks have shaped skateboarding culture, representing a golden era of innovation and style. With their bold designs, created by artists like Vernon Courtlandt Johnson, these decks deserve to be treated as the collectible artwork they truly are.
When framed correctly, these decks remain protected from dust, humidity, and accidental damage while becoming a statement piece in any room. For those who explore Skateboardtrends for inspiration, a well-framed deck can also be a conversation starter.
Selecting the Right Powell Peralta Deck for Framing
Not all skateboard decks are created equal, and choosing the right one for framing is a critical first step. Collectors often prioritize vintage skateboards due to their historical value and iconic designs. Whether it’s the legendary Tony Hawk “Chicken Skull” or the Mike McGill “Skull & Snake,” these designs represent timeless artistry.
Before framing, consider:
- Condition: Ensure the deck is clean and intact. Minor scratches add character but avoid warped decks.
- Authenticity: Look for identifying marks, serial numbers, or certificates.
- Story: Decks tied to specific skaters or competitions often hold more value.
For insights into iconic boards, check out this guide on vintage skateboards.
Step 1: Gather Your Tools and Materials
To frame a Powell Peralta deck, you’ll need the following:
- Shadow Box Frame: Deep enough to accommodate the deck without compressing it.
- Mounting Hardware: Brackets, hooks, or custom mounts that securely hold the deck.
- Backing Board: Acid-free material to prevent long-term damage.
- Glass or Acrylic Cover: UV-resistant options to protect the artwork from fading.
- Cleaning Supplies: Microfiber cloth and mild cleaner for dust and grime.
- Measuring Tape and Level: Ensures precise alignment.
Investing in quality materials ensures that your display lasts for decades. According to collectors, UV protection and acid-free backing can prolong the life of artwork by over 50%.
Step 2: Clean and Prepare the Deck
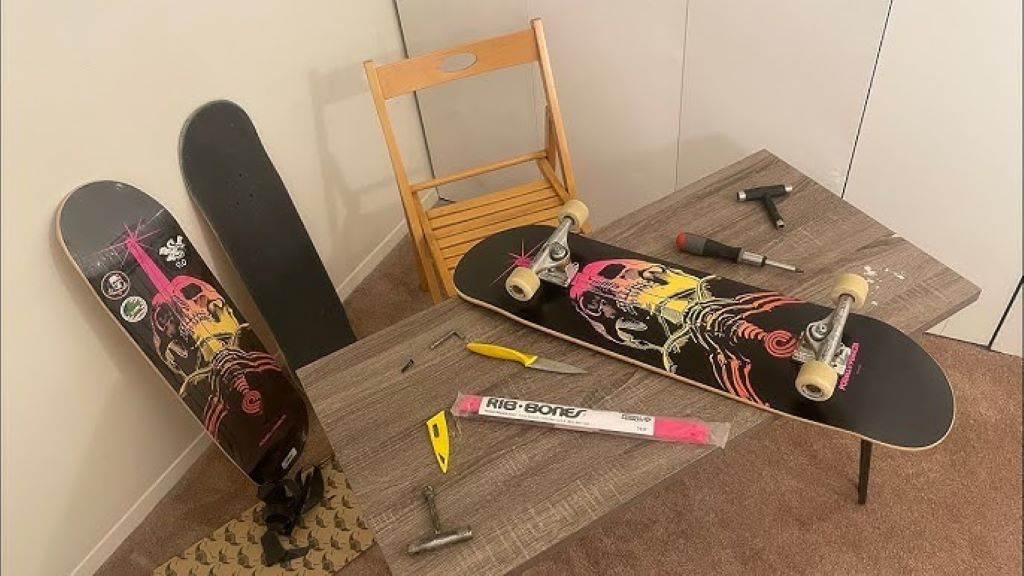
Cleaning is a crucial step before framing. Dust, dirt, or grime can degrade the deck’s artwork over time.
- Use a soft microfiber cloth and mild, non-abrasive cleaner to gently wipe the surface.
- Pay special attention to the edges where grime often accumulates.
- Avoid over-wetting the deck to prevent water damage.
Step 3: Choose the Right Frame
A shadow box is the most popular choice for skateboard decks due to its depth and versatility.
- Size: Ensure the frame accommodates the deck’s dimensions with extra room for aesthetics.
- Material: Opt for high-quality wood or metal frames that complement the deck’s design.
- Glass vs. Acrylic: Acrylic is shatter-resistant and lightweight, making it ideal for larger frames.
Step 4: Position and Mount the Deck
Proper positioning is essential for balance and visual appeal. Here’s how to do it:
- Use a template to mark the deck’s placement inside the frame.
- Mount the deck using brackets or hooks designed specifically for skateboards.
- Secure the mounting hardware to the backing board, ensuring it can support the weight.
Double-check the alignment with a level before sealing the frame. Crooked displays can detract from the presentation.
Step 5: Seal and Display Your Masterpiece
Once the deck is securely mounted:
- Install the glass or acrylic cover to protect the display.
- Seal the frame edges to prevent dust or air infiltration.
- Hang the frame on a sturdy wall mount, ensuring it’s level and secure.
Displaying Your Framed Deck
Where you place your framed Powell Peralta deck can elevate its impact. Consider these options:
- Living Rooms: As a centerpiece, it sparks conversations and showcases your passion.
- Home Offices: Adds a touch of personality and inspiration.
- Gallery Walls: Combine with other memorabilia for a cohesive theme.
Tips for Long-Term Maintenance
- Avoid Direct Sunlight: UV rays can fade the artwork over time.
- Regular Cleaning: Dust the frame and glass periodically to maintain clarity.
- Inspect for Damage: Check mounting hardware occasionally to ensure stability.
FAQs
How do I clean a Powell Peralta deck before framing?
Use a microfiber cloth and mild cleaner, avoiding harsh chemicals that could damage the artwork.
What type of frame works best for skateboard decks?
Shadow box frames are ideal due to their depth and protective features.
Can I frame a damaged or used Powell Peralta deck?
Yes, scratches or wear can add character, but ensure the deck is structurally sound.
How much does it cost to frame a Powell Peralta deck?
Costs range from $50 to $200 depending on materials and customization.
Should I use glass or acrylic for the frame cover?
Acrylic is recommended for its shatter-resistance and UV protection.
You Might Enjoy: Amber Heard net worth, acting career, family and relationships
Conclusion
Framing a classic Powell Peralta deck is a rewarding process that combines artistry and craftsmanship. By following these steps, you’ll preserve a piece of skateboarding history while creating a stunning display. Whether it’s for personal enjoyment or to impress guests, a framed Powell Peralta deck is more than just decoration—it’s a tribute to a legendary era.


