
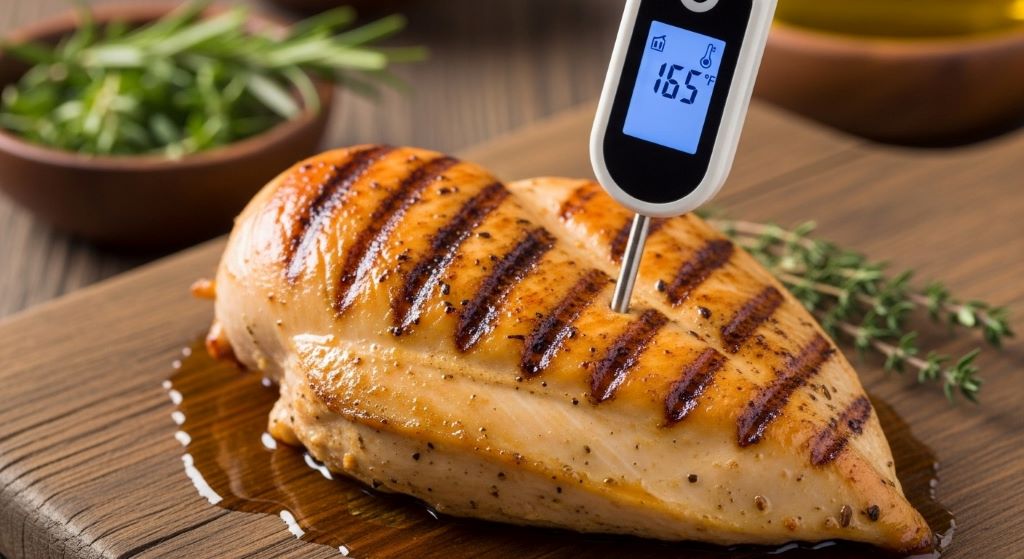
Cooking meat to perfection requires more than just intuition and guesswork. A meat thermometer is your most reliable kitchen companion for achieving consistently delicious results while keeping your family safe. This comprehensive guide will walk you through everything you need to know about using this essential tool correctly.
Why Every Cook Needs a Meat Thermometer
Many home cooks rely on visual cues or cooking times alone. However, these methods often lead to disappointing results. Meat can look perfectly cooked on the outside while remaining dangerously undercooked inside. Conversely, overcooking turns a premium cut into a tough, dry disappointment.
A meat thermometer eliminates this guesswork entirely. It provides precise readings that ensure your food reaches the proper temperature for both safety and quality. Moreover, using this tool helps you develop better cooking skills over time as you learn how different temperatures affect texture and flavor.
Types of Meat Thermometers Available
Understanding the different thermometer options helps you choose the right one for your needs. Each type offers distinct advantages depending on your cooking style and preferences.
Instant-Read Digital Thermometers
These popular devices provide quick temperature readings within seconds. Simply insert the probe into your meat, wait briefly, and read the display. They work well for checking doneness during grilling, roasting, or pan-searing. However, most models cannot remain in the oven during cooking.
Dial Thermometers
Traditional dial thermometers feature a metal probe attached to a round display face. They take longer to provide readings compared to digital versions. Nevertheless, they remain reliable and require no batteries. These work best for larger cuts that cook for extended periods.
Leave-In Probe Thermometers
These convenient devices stay inside your meat throughout the cooking process. A heat-resistant cable connects the probe to a digital display outside your oven. Some advanced models even connect to smartphone apps, sending alerts when your food reaches the target temperature.
Infrared Thermometers
These measure surface temperature without direct contact. While useful for checking grill grates or pan temperatures, they cannot measure internal meat temperature accurately. Therefore, they serve as supplementary tools rather than primary options for meat cooking.
Proper Thermometer Placement Techniques
Correct probe placement determines whether you get accurate readings. Inserting your thermometer incorrectly leads to misleading temperatures that compromise both safety and quality.
Finding the Thickest Part
Always insert your probe into the thickest portion of the meat. This area takes longest to cook and provides the most conservative temperature reading. For chicken breasts, this typically means the center of the thickest part. With whole poultry, check the innermost section of the thigh without touching bone.
Avoiding Bones and Fat
Bones conduct heat differently than muscle tissue and will give false readings. Similarly, large fat deposits do not represent the actual meat temperature. Always position your probe in lean muscle tissue away from these elements.
Checking Multiple Spots
Large roasts or whole birds benefit from multiple temperature checks. Insert your thermometer in different locations to ensure even cooking throughout. This practice becomes especially important for irregularly shaped cuts.
Essential Temperature Guidelines for Different Meats
Knowing target temperatures ensures both safety and optimal eating quality. Different proteins require different internal temperatures to be safe and enjoyable.
Poultry Requirements
All poultry must reach 165°F to eliminate harmful bacteria. This applies to chicken, turkey, duck, and game birds. Check both breast meat and thigh meat, as thighs often cook more slowly. Ground poultry also requires this same temperature throughout.
Beef and Lamb Standards
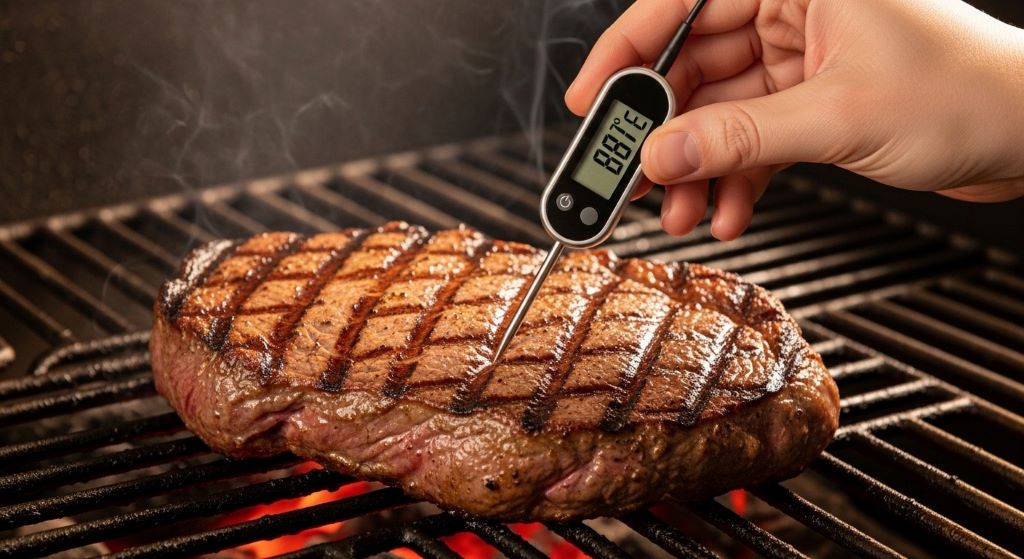
These red meats offer more flexibility based on personal preference. Rare beef registers around 125°F, medium-rare hits 135°F, medium reaches 145°F, and well-done exceeds 160°F. However, ground beef must always reach 160°F regardless of preference because bacteria can mix throughout during grinding.
Pork Guidelines
Modern pork is much safer than in previous decades. The current recommendation is 145°F followed by a three-minute rest period. This produces juicy, slightly pink pork that remains perfectly safe. Ground pork, like ground beef, requires 160°F throughout.
Fish and Seafood Temperatures
Most fish becomes safe and reaches ideal texture at 145°F. The flesh should appear opaque and flake easily. Shrimp, lobster, and crab should reach 145°F as well, appearing opaque with firm texture.
Common Mistakes to Avoid
Even experienced cooks sometimes make thermometer errors that affect their results. Being aware of these pitfalls helps you use your tool more effectively.
Taking Readings Too Early
Impatience leads many cooks to check temperatures before meat has cooked sufficiently. Each time you open the oven or grill, heat escapes and cooking slows. Wait until you estimate the meat is nearly done before starting to check temperatures frequently.
Ignoring Carryover Cooking
Meat continues cooking after removal from heat sources. This phenomenon, called carryover cooking, can raise internal temperature by 5 to 10 degrees. Therefore, remove large roasts when they reach about five degrees below your target. The temperature will climb during resting.
Not Calibrating Your Thermometer
Thermometers can lose accuracy over time or after being dropped. Test yours periodically by placing it in ice water, which should read 32°F, or boiling water at 212°F at sea level. Many digital models offer calibration features in their settings.
Checking Temperature Only Once
Single readings can be misleading, particularly with large or unevenly shaped cuts. Always verify temperature in multiple locations to ensure uniform cooking throughout your meat.
Maintaining Your Thermometer for Longevity
Proper care extends your thermometer’s lifespan and maintains its accuracy. These tools are investments in your cooking success and deserve appropriate attention.
Cleaning After Each Use
Wash your probe with hot, soapy water immediately after use. Never submerge the entire unit unless it specifically states waterproof capability. Pay special attention to removing any meat residue from the probe shaft, as buildup affects accuracy and promotes bacterial growth.
Safe Storage Practices
Store your thermometer in a protective case or drawer where it won’t get damaged. Avoid tossing it loosely in drawers with other utensils that might bend the probe. Additionally, remove batteries from digital models if storing for extended periods.
Regular Accuracy Checks
Test your thermometer’s accuracy every few months using the ice water or boiling water method mentioned earlier. Replace batteries annually in digital models even if they still work, as weak batteries can affect reading accuracy.
Advanced Tips for Better Results
Once you master the basics, these advanced techniques will elevate your cooking even further. Experienced cooks use these strategies to achieve restaurant-quality results at home.
Understanding Resting Periods
Allowing meat to rest after cooking lets juices redistribute throughout the muscle fibers. Cut into meat immediately, and these juices run out onto your cutting board. Rest steaks for five minutes, larger roasts for 15 to 20 minutes. The internal temperature chart shows final temperatures after resting, not immediately after cooking.
Using Temperature as a Doneness Guide
Beyond safety, temperature determines texture and juiciness. Experiment with different temperatures within safe ranges to find your preferred doneness level. Keep notes about what temperatures produce your favorite results with different cuts.
Accounting for Different Cooking Methods
Grilling, roasting, braising, and sous vide all interact differently with meat. Grilled items often benefit from slightly lower pull temperatures due to intense residual heat. Sous vide requires precise temperature control throughout cooking rather than just checking at the end.
Building Your Temperature Reference System
Creating your own reference system helps you remember important temperatures and improve consistently. While an internal temperature chart provides standard guidelines, personalizing this information makes it more useful.
Creating Quick Reference Cards
Write down the temperatures you use most frequently on a laminated card. Keep it near your cooking area for quick consultation. Include any personal preferences or adjustments you have discovered through experience.
Learning Through Repetition
The more you use your thermometer, the better you will understand how different temperatures feel and look. Eventually, you will develop intuition that complements your thermometer readings rather than replacing them.
Documenting Your Results
Keep a simple cooking journal noting what temperatures produced the best results with different cuts and cooking methods. This record becomes invaluable for recreating successful meals and avoiding past mistakes.
Ensuring Family Health Through Proper Technique
Using a meat thermometer correctly is ultimately about protecting the people you feed. Food safety tips extend beyond just reaching minimum temperatures.
Understanding Risk Factors
Certain groups face higher risks from undercooked meat, including young children, pregnant women, elderly individuals, and those with compromised immune systems. When cooking for vulnerable populations, always err on the side of caution and follow recommended temperatures strictly.
Preventing Cross-Contamination
Clean your thermometer between checking different pieces of meat, especially when moving from raw to cooked items. This simple step prevents bacteria transfer that could cause illness even when final temperatures are correct.
Recognizing When to Discard Food
If meat has been left in the temperature danger zone between 40°F and 140°F for more than two hours, bacteria may have multiplied to dangerous levels. No amount of cooking can remove the toxins some bacteria produce. When in doubt, throw it out.
Making Your Investment Count
Quality meat thermometers range from inexpensive basic models to sophisticated smart devices. However, even budget options work well when used correctly. The key is choosing a reliable tool and learning to use it properly.
Consider your cooking habits when selecting a thermometer. Frequent grillers benefit from instant-read models that provide quick checks without losing too much heat. Home bakers who roast large cuts might prefer leave-in probe thermometers that eliminate constant monitoring.
Regardless of price point, accuracy matters most. Read reviews and choose reputable brands known for reliability. A thermometer that provides consistently accurate readings will serve you far better than a feature-packed model with questionable precision.
Conclusion
Mastering meat thermometer use transforms your cooking from guesswork into a precise science. By understanding proper placement techniques, knowing essential target temperatures, and avoiding common mistakes, you can consistently produce safe, delicious meals. Remember that practice builds confidence and skill. Start checking temperatures regularly, document your results, and soon you will cook with the assurance of a professional chef. Your thermometer is not just a safety tool but also your partner in creating memorable meals that bring joy to your table.
Frequently Asked Questions
How often should I replace my meat thermometer?
Replace your thermometer when it no longer provides accurate readings that cannot be fixed through calibration. Quality digital models typically last three to five years with proper care. However, if your thermometer gets dropped, submerged unexpectedly, or shows inconsistent readings, replace it immediately regardless of age.
Can I leave my thermometer in the oven while cooking?
Only leave-in probe thermometers designed specifically for this purpose can safely remain in the oven. Instant-read thermometers will be damaged by prolonged heat exposure. Always check your thermometer’s specifications before attempting to leave it in during cooking.
Do I need different thermometers for meat and candy?
While you can use one thermometer for multiple purposes, candy thermometers measure higher temperature ranges needed for sugar work. A standard meat thermometer typically maxes out around 200°F, whereas candy making requires readings up to 400°F. Serious cooks often keep separate tools for different applications.
How do I know if my thermometer is waterproof?
Check your thermometer’s packaging or manual for waterproof ratings, often indicated as IPX7 or similar codes. Most instant-read thermometers have water-resistant probes but non-waterproof displays. Never fully submerge any thermometer unless explicitly stated as waterproof by the manufacturer.
What should I do if my readings seem inconsistent?
First, calibrate your thermometer using ice water or boiling water. If readings remain erratic, check the battery in digital models. Ensure you are inserting the probe correctly and avoiding bones or fat. If problems persist after troubleshooting, the unit may be damaged and require replacement.
Related Topics:
Nutritional Analysis of Traditional Shkmeruli Ingredients
How to Use a Springform Pan: Unlocking Kitchen Success