

A well-functioning sprinkler system is crucial for maintaining a lush, green lawn and healthy landscape. But like any mechanical system, sprinkler valves can wear down and malfunction over time. Recognizing the signs of a failing valve is essential for preventing water waste, costly repairs, and damage to your landscaping. In this article, we’ll explore five key indicators that your sprinkler valve is in need of repair.
1. The Dreaded Leak: A Silent Culprit
One of the most obvious signs of a faulty sprinkler valve is water leakage. While some valves may exhibit a steady drip or visible stream of water, others might leak more subtly. Look for wet spots or puddles around the valve box, even when the system isn’t running. These leaks not only waste water but can also lead to soggy soil, root rot, and fungal growth. If you notice any signs of leakage, including a sprinkler valve stuck open, it’s crucial to address the issue promptly.
2. The Inconsistent Performer: Uneven Watering
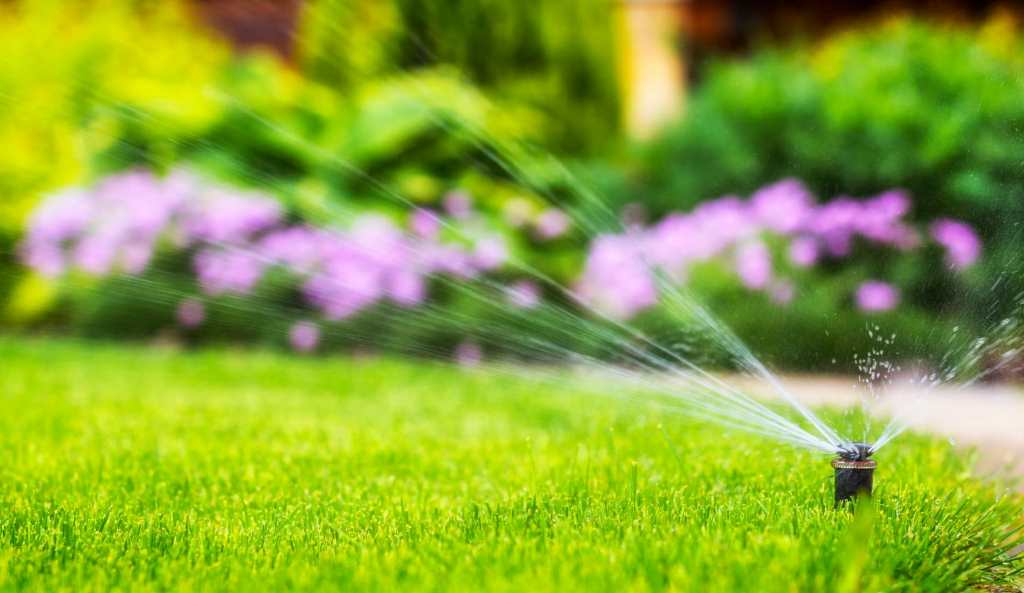
Are certain areas of your lawn receiving too much water while others remain parched? This uneven watering pattern is a common symptom of a malfunctioning sprinkler valve. A faulty valve may not open or close completely, leading to overwatering in some zones and underwatering in others. This inconsistency can stress your lawn, create brown patches, and promote weed growth. Keep a close eye on your lawn’s appearance and water distribution to catch this issue early on.
3. The Pressure Plunge: Low Water Pressure
If you notice a significant drop in water pressure from your sprinkler heads, a faulty valve could be the culprit. A damaged or clogged valve may restrict water flow, resulting in weak or sputtering sprinkler spray. This reduced pressure can hinder the effectiveness of your irrigation system and leave your lawn thirsty. Low water pressure can also be a sign of a leak elsewhere in the system, so it’s important to investigate the cause thoroughly.
4. The Electrical Enigma: Valve Box Wiring Issues
The electrical wiring that controls your sprinkler valve can become damaged due to exposure to moisture, pests, or physical wear and tear. If you experience problems activating or deactivating a specific zone, or if the valve seems to have a mind of its own, electrical issues may be at play. Check for loose or corroded wires within the valve box. If you’re not comfortable working with electrical components, it’s wise to call in a professional to diagnose and repair the problem. Meanwhile, if you’re planning a larger home improvement project, like a garage & basement makeover, it’s a great opportunity to address any electrical concerns in these areas as well.
5. The Mechanical Mishap: Broken Internal Components
Inside each sprinkler valve, there are a variety of mechanical components that can wear down or break over time. Diaphragms, solenoids, and springs are all susceptible to damage due to age, mineral buildup, or excessive pressure. If you hear unusual noises coming from the valve box, or if the valve fails to respond to commands, internal damage is likely. In these cases, replacing the valve may be the most effective solution.
Beyond the Signs: When to Seek Professional Help
While some minor sprinkler valve repairs can be tackled by DIY enthusiasts, it’s important to know your limits. If you’re unsure about the cause of the problem or if you’re uncomfortable working with electrical or plumbing components, it’s always best to consult a qualified irrigation professional. They have the expertise and specialized tools to diagnose and repair complex valve issues, ensuring your sprinkler system operates at peak performance.
Prevention is Key: Maintaining Your Sprinkler Valves
Regular maintenance is crucial for preventing sprinkler valve problems and extending the lifespan of your irrigation system. Here are a few tips to keep your valves in good working order:
- Winterize your system: Drain your sprinkler lines and valves before the first frost to prevent freezing damage.
- Check for leaks: Inspect your valves and valve boxes regularly for any signs of leaks or moisture buildup.
- Test your zones: Run each zone individually to ensure proper water distribution and pressure.
- Clean filters: If your system has a filter, clean it periodically to prevent clogs and debris buildup.
- Adjust watering schedule: Modify your watering schedule based on the season and weather conditions to prevent overwatering.
By keeping a watchful eye on your sprinkler valves and taking proactive steps to maintain your irrigation system, you can ensure a healthy and vibrant lawn for years to come.


